
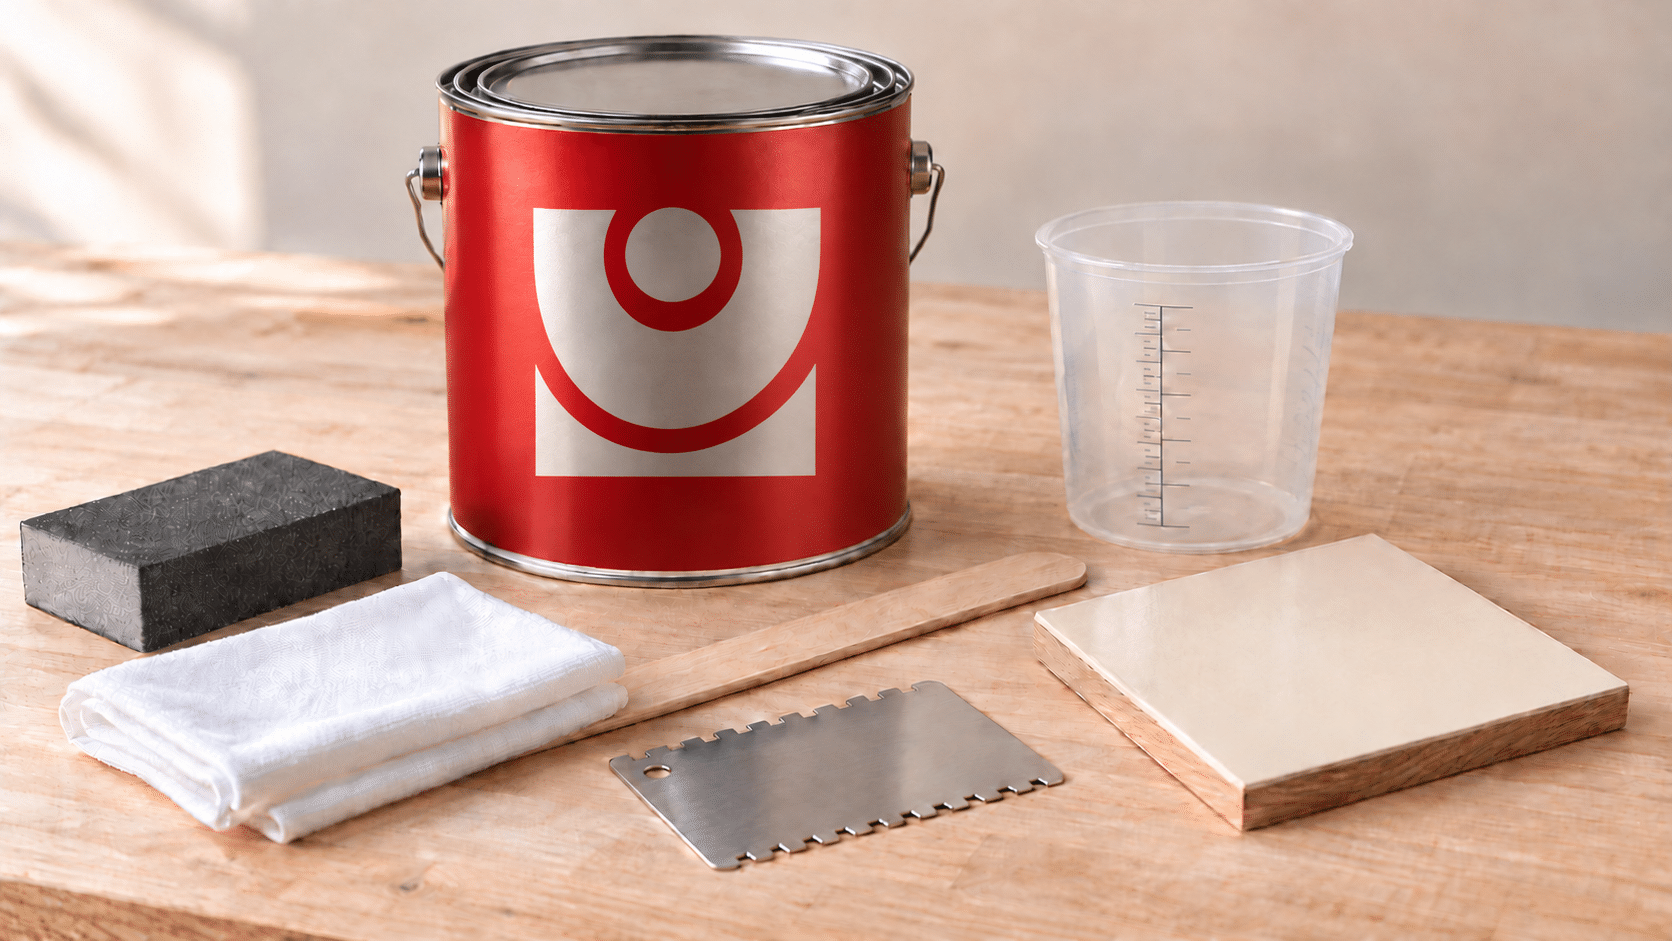
A finish sample should answer a practical question: can you achieve the intended result on this job, using the process you plan to follow?
A color chip helps narrow a choice. A finished sample goes further. It brings the substrate, preparation, coating system, application method, and final appearance together before you commit to production.
For a professional refinisher, that makes sampling part of job preparation. It gives you something to evaluate, something the customer can approve, and a reference your team can work toward.
Start with the actual job
Choose material that represents the work ahead. For new cabinetry, match the substrate and relevant details, including edges and profiles. For refinishing, use an agreed test area or a representative existing component whenever possible.
Fresh material cannot reproduce the maintenance history of an old cabinet door. A sample on new oak may demonstrate color and grain appearance, but it does not establish how the system will adhere to an existing finish.
Identify differences across the job, too. Solid-wood doors, veneered panels, and previously repaired areas may require separate evaluation. One successful sample cannot resolve every surface condition.
Decide what you need to learn
Write down the questions before applying anything:
- Does the preparation and coating sequence work on this surface?
- Is the coverage satisfactory at the specified application thickness?
- Is the amount of visible grain acceptable?
- Do the edges and profiles meet the intended appearance?
- Is the color and sheen what the customer expects?
Set acceptance criteria in advance. “Looks good” leaves too much open to interpretation.
For example, a customer may expect a smooth painted oak door with little visible grain. Your sample should demonstrate the grain-filling and finishing process needed to achieve that agreed appearance.
Reproduce the complete finishing sequence
Carry the sample through the planned preparation and every coating stage. Use the intended products, color, sheen, and application method. Testing the entire sequence—from preparation through the final coat—is an established part of cabinet refinishing guidance.
For an ICRO system, consult the current technical data sheets for the exact products. Follow their requirements for mixing, permitted reduction, application thickness, drying, sanding, and recoating.
Avoid giving the sample special treatment that will not be repeated during production. Additional sanding, an extra preparation step, or a different application method can make the sample a misleading reference.
A useful sample represents both the desired result and a process you can carry out consistently.
Record enough to repeat it
Give each sample an identifier and attach a record to it. At minimum, capture:
| Record | Details to include |
|---|---|
| Surface | Substrate, existing finish, condition, and test location |
| Preparation | Cleaning, sanding, repairs, and any filling or sealing |
| Products | Product codes, batches, color formula, and sheen |
| Mixing | Quantities, weight or volume basis, and permitted additions |
| Application | Equipment, relevant settings, number of coats, and film readings where applicable |
| Conditions and timing | Temperature, humidity, application times, and drying intervals |
| Evaluation | Observations, test method, date, and approval status |
Record what you actually did. If a step changes, update the record and identify the revised sample.
This follows the documentation approach discussed in RoyalAcademy’s quality-control guide.
Evaluate appearance and performance separately
For appearance, inspect the sample under consistent shop lighting, then review it in the intended setting. View it in its installed orientation and under the natural and artificial lighting the customer normally uses.
Discuss color, sheen, texture, and grain visibility. Photographs can support the record, but the physical sample should remain the appearance reference.
Technical evaluation requires its own timing and method. A surface that feels dry is not automatically ready for a meaningful performance assessment. Follow the coating manufacturer’s guidance for conditioning, curing, and adhesion evaluation.
If a test damages the coating, use a designated test area or a separate representative specimen. Keep the customer’s appearance sample intact. Do not present an improvised scratch or tape check as a standardized test.
Practice exercise: reproduce your own sample
Prepare two comparable practice pieces.
Finish Sample A using your intended sequence and record the process. Once you have evaluated it and accepted the result, finish Sample B from the written record.
Keep the materials, preparation, application method, and conditions as consistent as practicable. Compare both pieces at the same coating age and under the same lighting.
Can you reproduce the appearance? Is the record detailed enough to explain any difference? Could another technician follow it without guessing?
If the results differ, investigate before production. When testing an adjustment, change one variable at a time so the comparison remains useful.
Make a clear decision before production
Use three possible outcomes:
- Proceed: the relevant checks are complete, the process is documented, and the intended appearance is approved.
- Revise and retest: a problem or unacceptable result needs a controlled change.
- Hold: the coating needs more time, a test remains incomplete, or a compatibility question needs resolving.
Record customer approval of the appearance separately from your technical assessment. Keep the approved sample protected and available during the job. Revisit it when materials, preparation, or the coating sequence change.
A representative sample gives everyone a shared reference and gives the finisher a process worth repeating.
Build confidence through practical training. Explore RoyalAcademy’s courses to develop your preparation, application, and quality-control skills.
Leave a Reply
You must be logged in to post a comment.